
It is very common that you want a form that send multiple emails, maybe you want to send a confirmation email to your customer and another to you. Or maybe you want to send an email to a person only when the form is filled in certain way like in the examples below:
- Send an email to the It department if the user reported a technical issue
- Send an email to Accounting if the user had a problem with his credit card
- Send an email to a Seller if the purchased amount exceeds $1,000.00
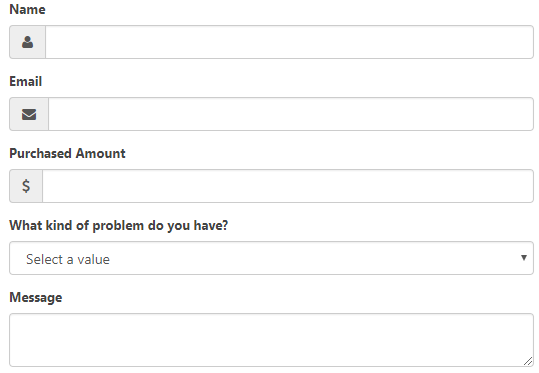
In this tutorial I am going to teach you how to do exactly this =). For this tutorial we are going to use the form bellow (which you can also download at the end of this tutorial)
1. – Send a confirmation email to my customer
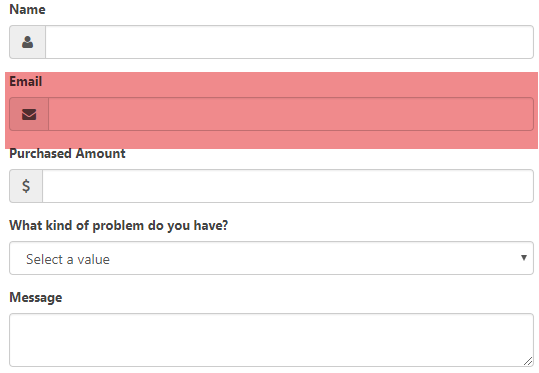
To create this email I first need to get the email address of my customer, so I need to have an email field in my form:
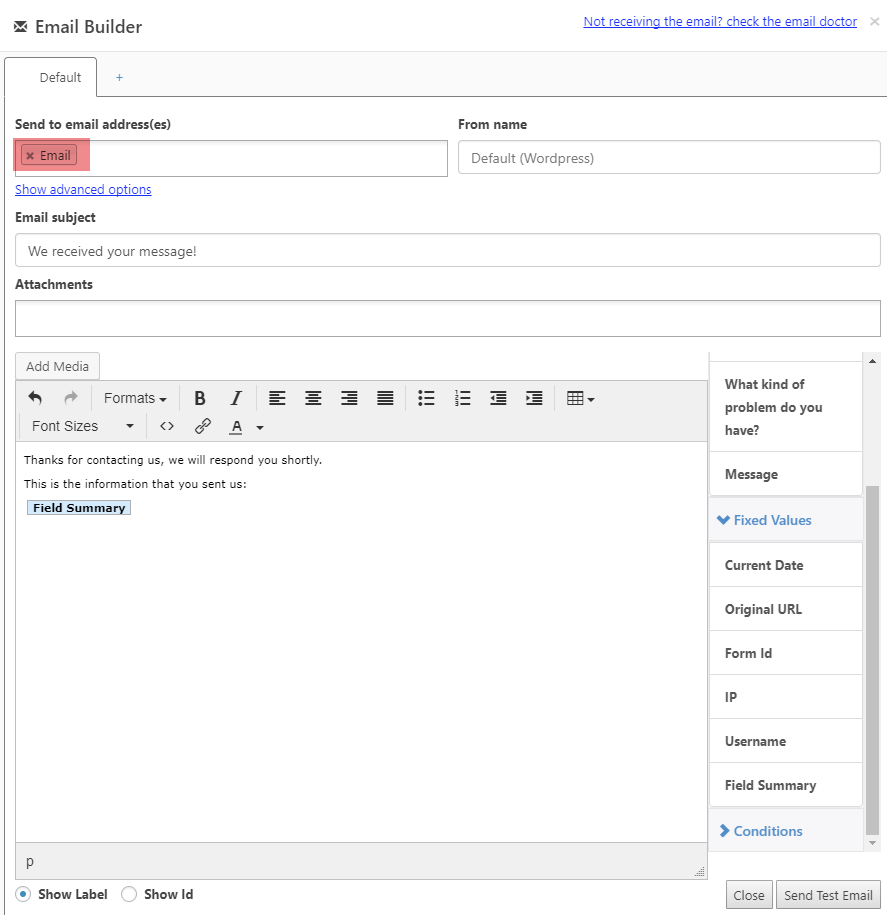
Then I just need to use that field to create my email like this:
2. – Send another email to me
Now that I have my confirmation email I also want to send an email to me.
- I will add another email to my form by clicking the plus sign in the email builder. Doing that will add a new tab to the email builder (you can double click in the tab to rename it).
3. -Send a conditional email to different departments
In the form my users can select if they are contacting me because they have a technical issue or a problem with their credit card. I want my IT team to handle the technical problems and my accounting team to handle the credit card problems.
- I am going to create a new email (by clicking the plus sign like we did it in the previous section).
- In the ‘Send to email address (es)’ box I am going to select my dropdown field ‘What kind of problem do you have?’
- I am going to define an email for each option in my dropdown
4. – Send an email only if a condition is meet
Lastly I also want to notify one of my sellers if a high profile customers (in this example customers that have purchased from me more than $1,000.00 worth products) is contacting me.
- I am going to add another email.
- I will click the ‘chain’ icon to create a conditional logic.
- I will define the condition that i want to use (in this case a purchase greater than 1000)
That’s it! I hope you liked this tutorial.
What do you think?
Do you have any question? Do you want a tutorial about another topic? Let me know!