
Showing the submitted information in other pages can be easily done using the add on Smart Pages. With this add on you can create a bunch of different pages like:
- A summary page that shows the information that your client just submitted.
- A list of all the submissions that a form has received.
- An admin page where your team or client can view and edit the previously submitted information.
In this tutorial i am going to show you how to do a summary page (i am going to cover the other examples in other posts).
To create a summary page we need to do 3 things
- Create a form with Smart Forms
- Create a page with Smart Pages
- Connect the page with the form
1.-Creating a form with Smart Forms
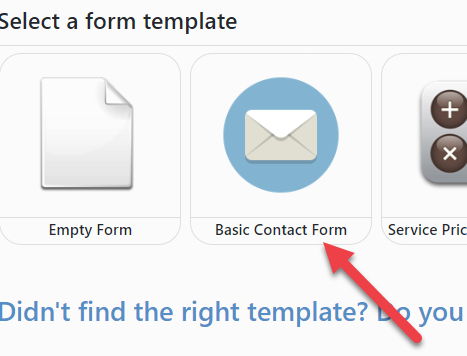
This step is very easy, all you need to do is create the form that you are going to use. For this example i am going to use the 'Basic Contact Form' template. The name of my form is going to be Summary Demo.
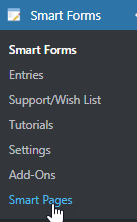
2.-Creating a page with Smart Pages
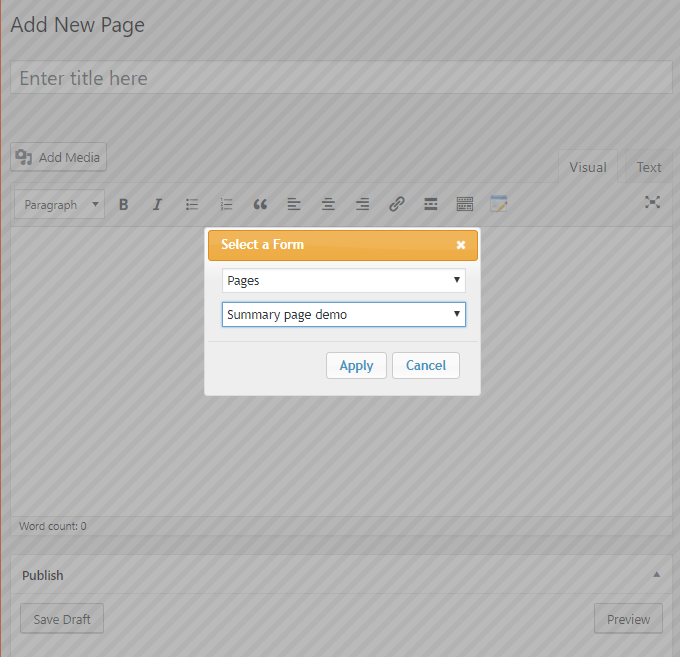
Now that i have my form created i am going to go to Smart Pages:
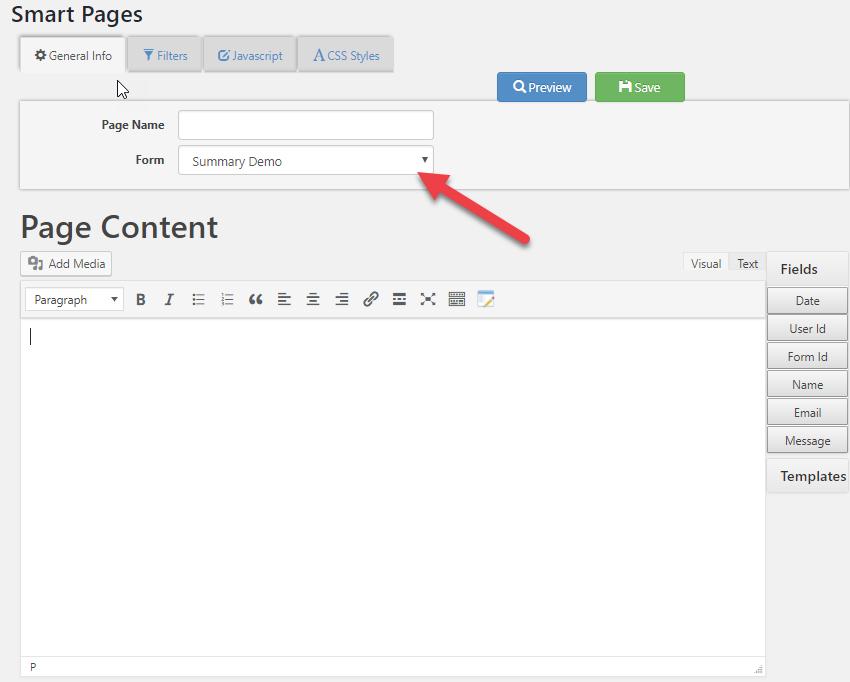
Then in the 'Form' dropdown i am going to select the form that i just created
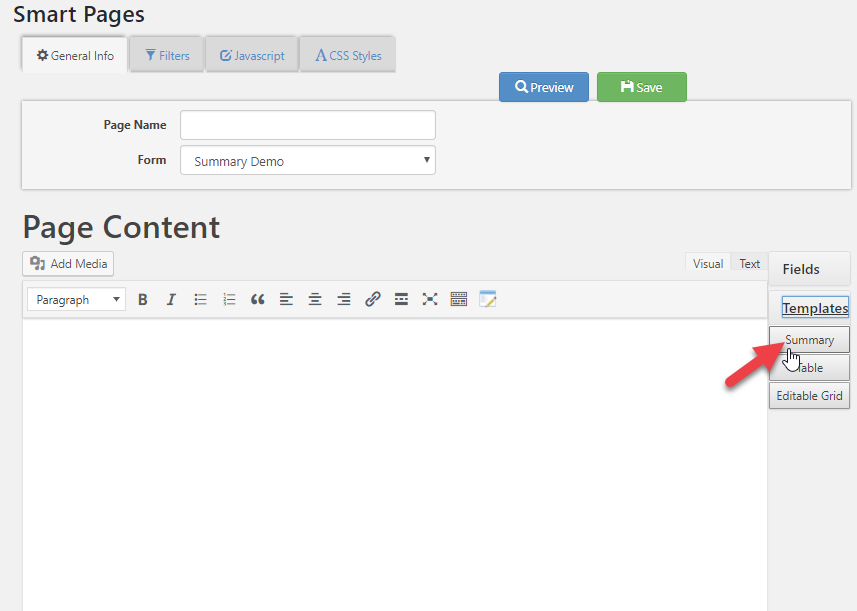
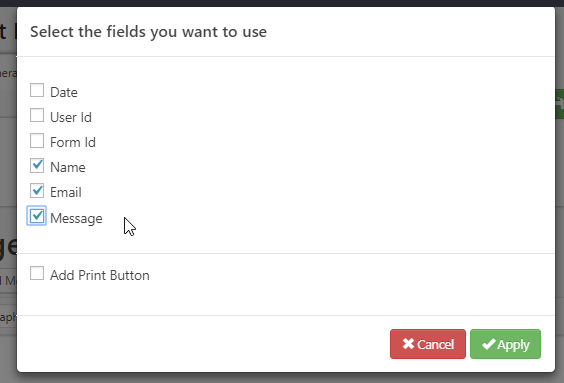
Since i am creating a summary page, i am going to go to 'Templates' and click in the 'Summary' button. A pop up will show up.
Then i am going to select which fields i want to display in my summary.
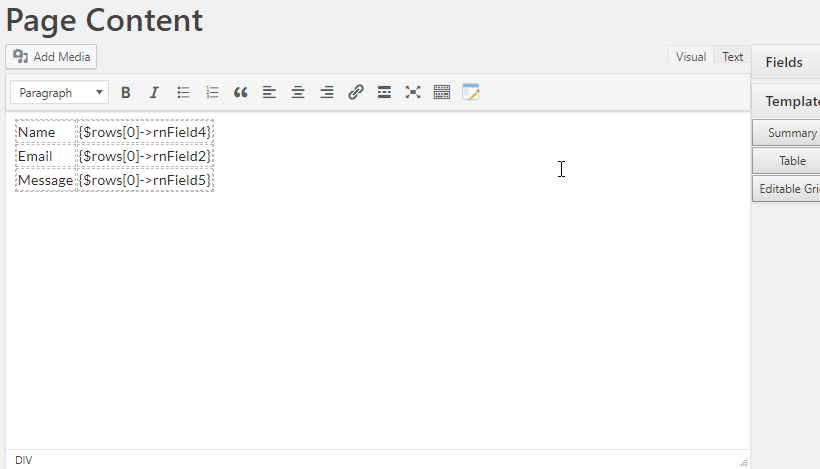
And that's it. After hitting apply Smart Pages will automatically generate the code that i need to display my summary.
3.-Connect the page with the form
Since i want to display the summary after a form is submitted i also need to connect my form with my page, which can be done like this:
A.- Add the smart page into a page or post.
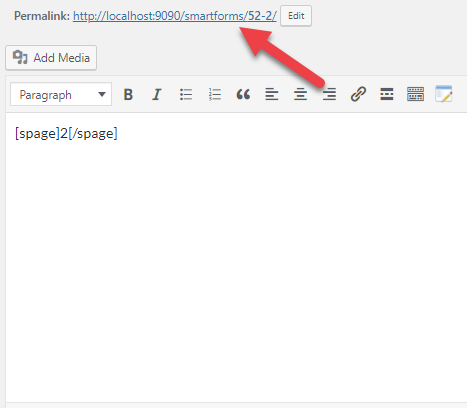
All i have to do is create a new page or post and add my smart page (like i would do it for a Smart Forms).
Hit apply and publish so wordpress can generate the page URL, copy this URL.
B.- Redirect the user to my page after he submitted the form
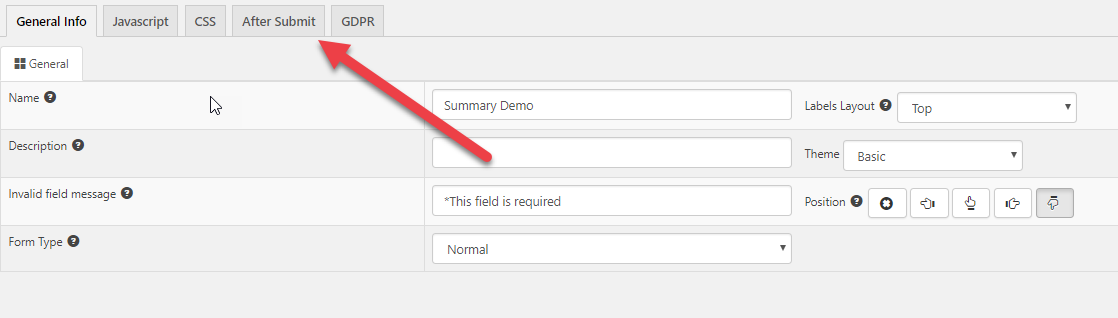
Open the form designer and go to the After Submit Tab
In the after submit tab, check the 'Redirect To' box and paste the url that you just copied in the previous step.
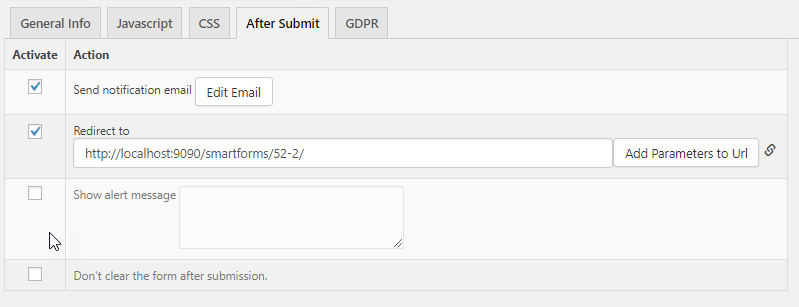
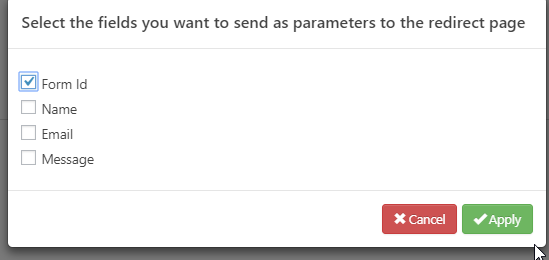
You also need to send the form id to your smart page (so it knows which form to open). To do so click in 'Add Parameters to Url' and select 'Form Id'
This will add the text '?formid={formid}' at the end of your url
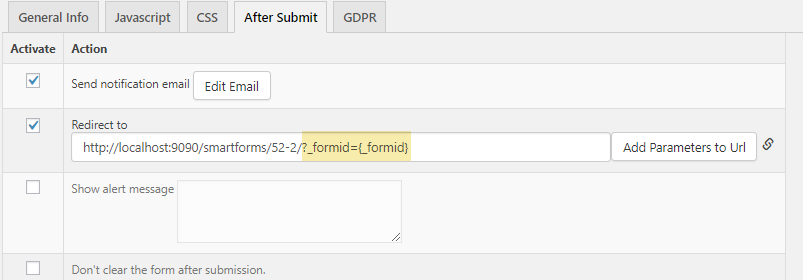
Save your form.
C. Configuring smart pages to open the form that we want.
Lastly go to smart pages and click in the 'Filters' tab
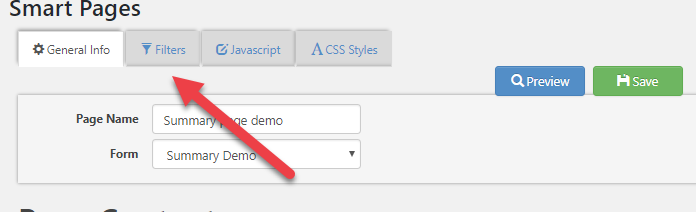
In this tab add a new filter with these values:
- Field: Form Id. This means that we are only going to filter by our form id.
- Operation: Equal. This means that we are going to do a comparison, so only the entry with the form id equal than whatever we define (in the value box) is going to be shown.
- Value Type: Parameterized. Our form id is not going to be a fixed value (something that we specify in the designer) but a dynamic value that we are going to pass in the url (like we defined in the previous step).
- Value: _formid. Here we type the name of our parameter as defined in the previous step.
Your filter should look like this:

And that's it! Now after submitting, your user is going to be redirected to a Summary Page!
But what about security?
It is important to know that anyone who has the form id would be able to open the 'Smart Pages' so for sensitive information this approach alone is not recommended.
For sensitive information it would be better to make sure that only the person that submitted the form is able to see the smart page. I am going to cover this approach in my next blog =).